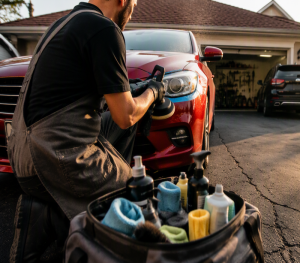
The professional headlight restoration process isn’t as simple as wiping down a foggy lens with a cloth. It’s a detailed, multi-step method that requires the right tools, the right products, and real technique.
If you’ve ever wondered how technicians turn yellow, hazy headlights into clear, bright ones, this guide breaks it all down. Let’s walk through exactly what happens, start to finish!
Step-by-Step Breakdown of the Professional Headlight Restoration Process
Every legitimate professional headlight restoration process follows a similar sequence. Skipping steps leads to results that don’t last. Here’s how it typically works.
Step 1: Inspection and Prep
Before any sanding begins, the technician inspects the headlight lens closely. This determines whether restoration will actually work or if replacement is a better option.
Prep work usually includes:
- Cleaning the surface to remove dirt, road grime, and debris
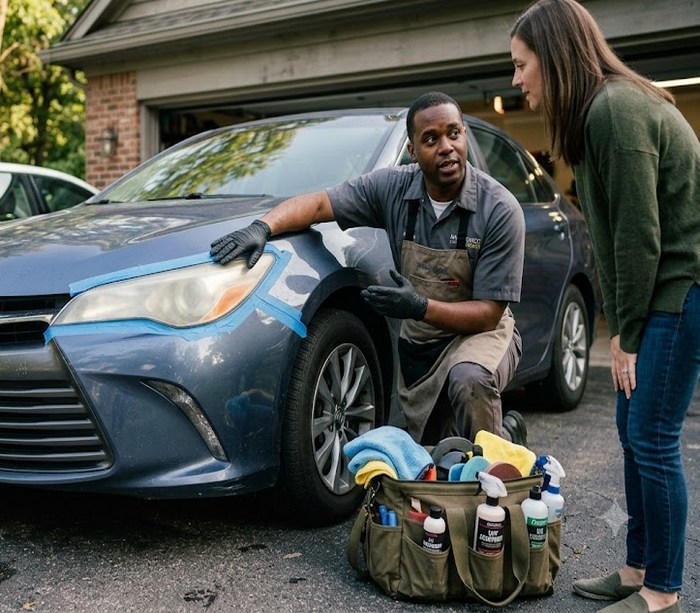
- Taping off surrounding areas to protect your paint and trim
- Assessing oxidation depth to choose the right sanding grit
This stage sets the foundation for everything that follows.
Step 2: Sanding the Lens
Next comes sanding. Technicians use a series of sandpaper grits, starting coarse and moving to fine. This removes the damaged, oxidized outer layer of the plastic lens. It sounds aggressive, but it’s necessary. Without this step, you’re just polishing dirt on top of damage.
Why the Restoration Process Requires Precision
Precision matters at every stage of the professional headlight restoration process. Rushing the sanding stage, for example, leaves scratches that show up later. Using the wrong grit can damage the lens permanently.
Step 3: Polishing and Compounding
After sanding, a polishing compound restores clarity to the plastic. This step brings back the shine and smooths out any fine scratches left from sanding. It’s oddly satisfying to watch a cloudy lens turn clear again!
Step 4: UV Sealant Application
This is the step that separates a professional job from a DIY kit. Technicians apply a UV-resistant sealant to protect the lens from future oxidation. Without this coating, Houston’s intense sun and humidity will cause haze to return within months.
Here’s why the sealant step matters so much:
- Blocks UV rays that cause yellowing over time
- Adds a protective barrier against road debris and weather
- Extends results for a year or longer, when applied correctly
At Headlight Hero’s, this step never gets skipped or rushed.
What Makes This Process Worth Doing Right
A shortcut version of the professional headlight restoration process might save time upfront. But it rarely delivers lasting results. Cheap kits often skip the sealant step entirely, which means the haze creeps back within weeks.
That’s why Headlight Hero’s follows every stage carefully, from inspection to final cure time. Houston weather is tough on plastic lenses, and cutting corners just doesn’t hold up here.
We bring our professional headlight restoration service directly to your home, office, or other convenient location. Experience the convenience of professional mobile service and enjoy clearer, brighter headlights without leaving your driveway.
For more information about our services visit us on Pinterest, Yelp, AllBusines.Com, or NextDoor
Contact Headlight Hero’s today to schedule your mobile headlight restoration and experience the convenience of professional service brought directly to you.
Now that you understand the full professional headlight restoration process, it’s easier to see why proper technique matters so much. Inspection, sanding, polishing, and sealing each play a critical role. Done right, the results last. Done wrong, you’re back to square one within a season.